Smart Warehousing, Smarter Earning
Harness Our Intelligent Platform for Seamless Fulfillment, transform everyday homes into micro-warehouses through our data-driven solution, accelerate fulfillment, and unlock new profit potential.
Innovating Logistics for a Better Tomorrow

High Efficiency for New Product Testing
Using a flexible point-of-sale warehousing model, we provide tailored logistics solutions for small and medium e-commerce businesses—enabling cost-effective, efficient overseas market trials.

Intellicent market trend forecasting
Data-driven insights predict industry shifts, enabling swift decisions and optimal product selection. Real-time alerts help prevent costly stock-outs and missed opportunities.

Minimize Platform Penalties
Full-process monitorina and compliance support significantly cut down risks of delays or violations, saving you costly fines.
Connect to more carriers and selling channels
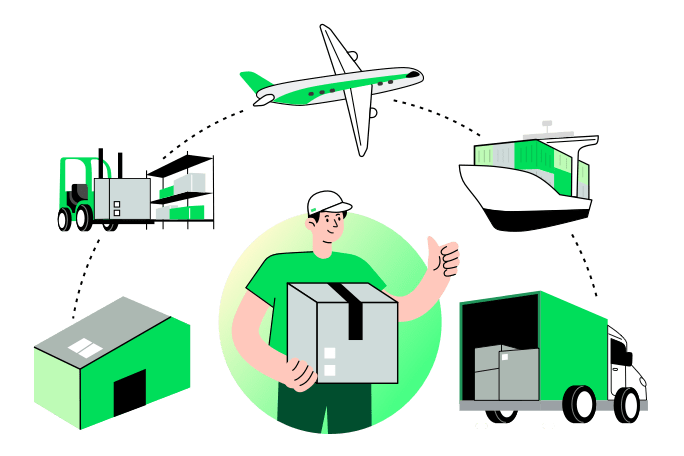
From Storage to Delivery, We’ve Got You Covered.
Leverage our tech-driven services and trusted platform partners to seamlessly integrate your e-commerce operations with our rapidly expanding logistics network in the USA and China.
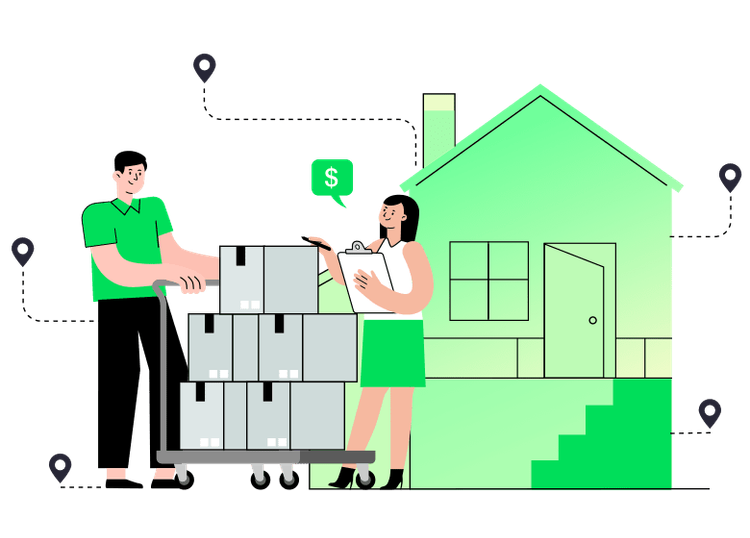
Schedule a DemoTransform Spare Space into Profit with PinStocker
Turn your unused room, garage, or basement into a micro-warehouse for eCommerce sellers. Earn extra income without hassle while supporting seamless order fulfillment—powered by PinStocker’s user-friendly platform.
Become a PinStocker
Schedule a Demo
Experience how PinStocker can streamline your e-commerce fulfillment.
Schedule a Demo